
How to Safely Install Ceiling Fan Wiring: A Step-by-Step Guide
Understanding the Basics
Installing ceiling fan wiring can be a rewarding project, but it requires careful attention to detail and safety precautions. Before you begin, familiarize yourself with the basic components and tools needed for the job. Ensuring you have the right equipment will make the process smoother and safer.
Gathering the Necessary Tools and Materials
Before starting, gather all the necessary tools and materials. You will need a voltage tester, wire cutters, wire strippers, a screwdriver, and electrical tape. Additionally, make sure to have the ceiling fan kit, which should include the fan, mounting bracket, and necessary screws.
Safety gear is also crucial. Wear safety goggles and gloves to protect yourself from potential hazards. A sturdy ladder will ensure you can reach the ceiling comfortably and safely.
Turning Off the Power
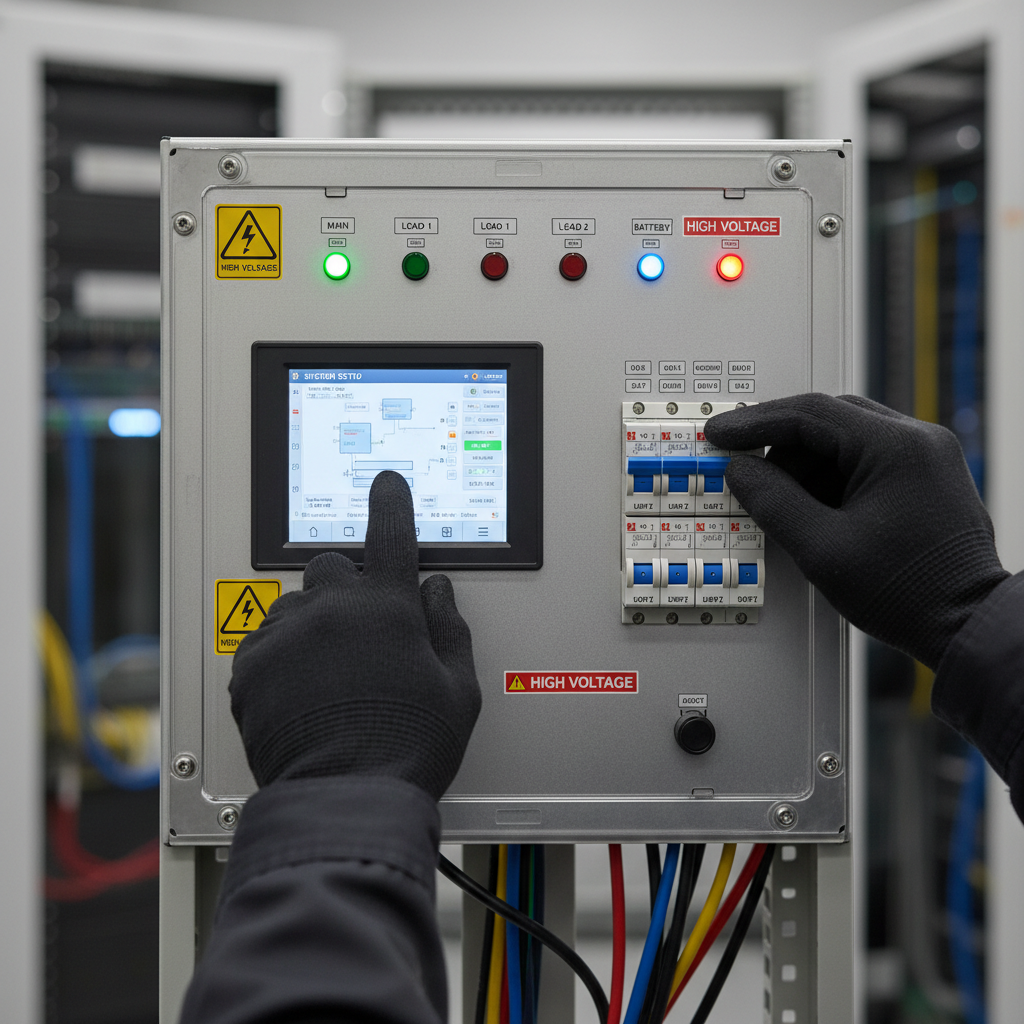
One of the most important steps is to turn off the power to the circuit you'll be working on. Go to your breaker box and switch off the circuit that supplies electricity to the ceiling fan location. Double-check that the power is off by using a voltage tester on the wires.
Removing the Existing Fixture
Carefully remove the existing light fixture, if there is one. Unscrew the fixture from the ceiling and disconnect the wires by unscrewing the wire nuts. Keep the wire nuts and screws, as they may be needed for the fan installation.
Once the fixture is removed, examine the electrical box to ensure it is suitable for supporting a ceiling fan. If not, you may need to install a fan-rated electrical box.
Installing the Mounting Bracket
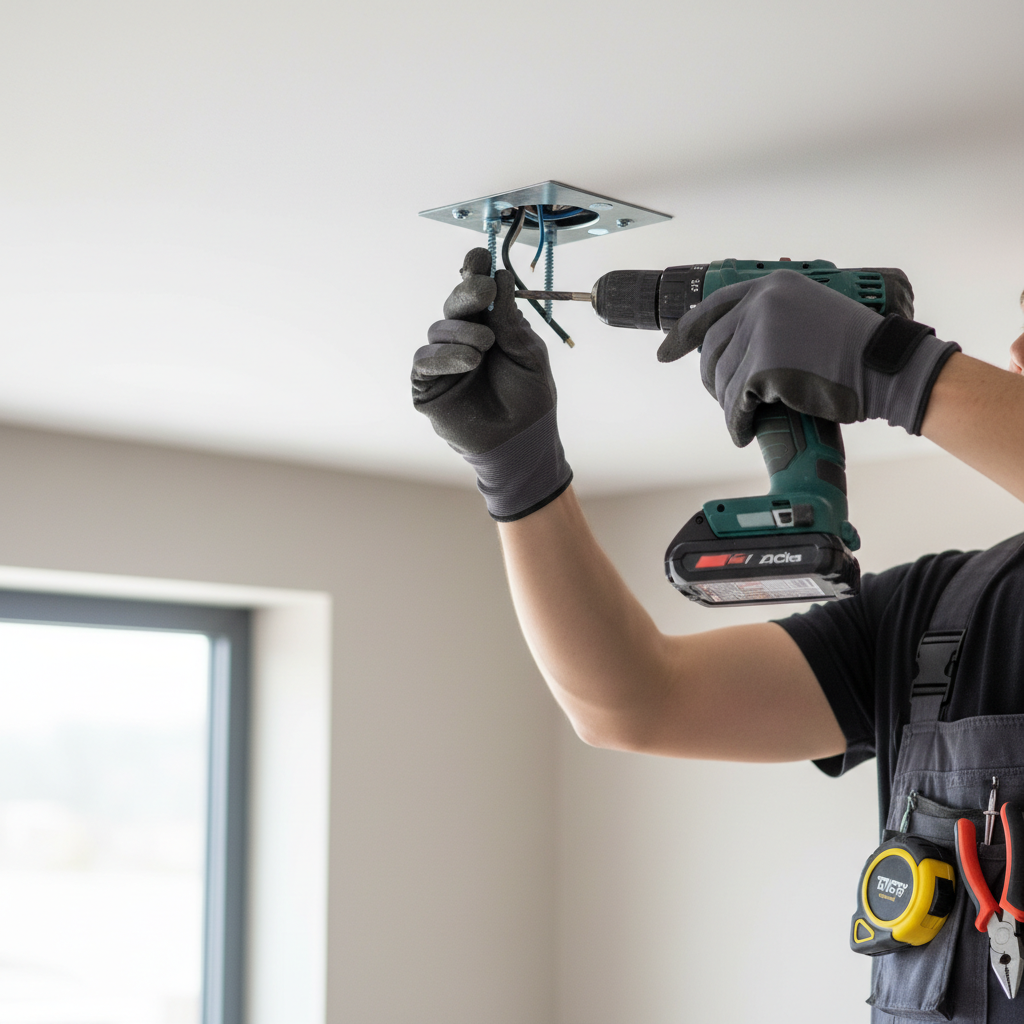
With the old fixture removed, it's time to install the mounting bracket that comes with your ceiling fan kit. Secure the bracket to the electrical box using the screws provided. Ensure that the bracket is tightly secured, as it will support the fan's weight.

Wiring the Ceiling Fan
Now, it's time to wire the ceiling fan. Connect the fan's wires to the corresponding wires in the ceiling: usually black to black (or red), white to white, and green or bare to the ground wire. Use wire nuts to secure the connections, and wrap each connection with electrical tape for added safety.
Follow the manufacturer's instructions closely, as some fans may have additional wiring for features like lights or remote controls.
Attaching the Fan Blades and Light Fixtures
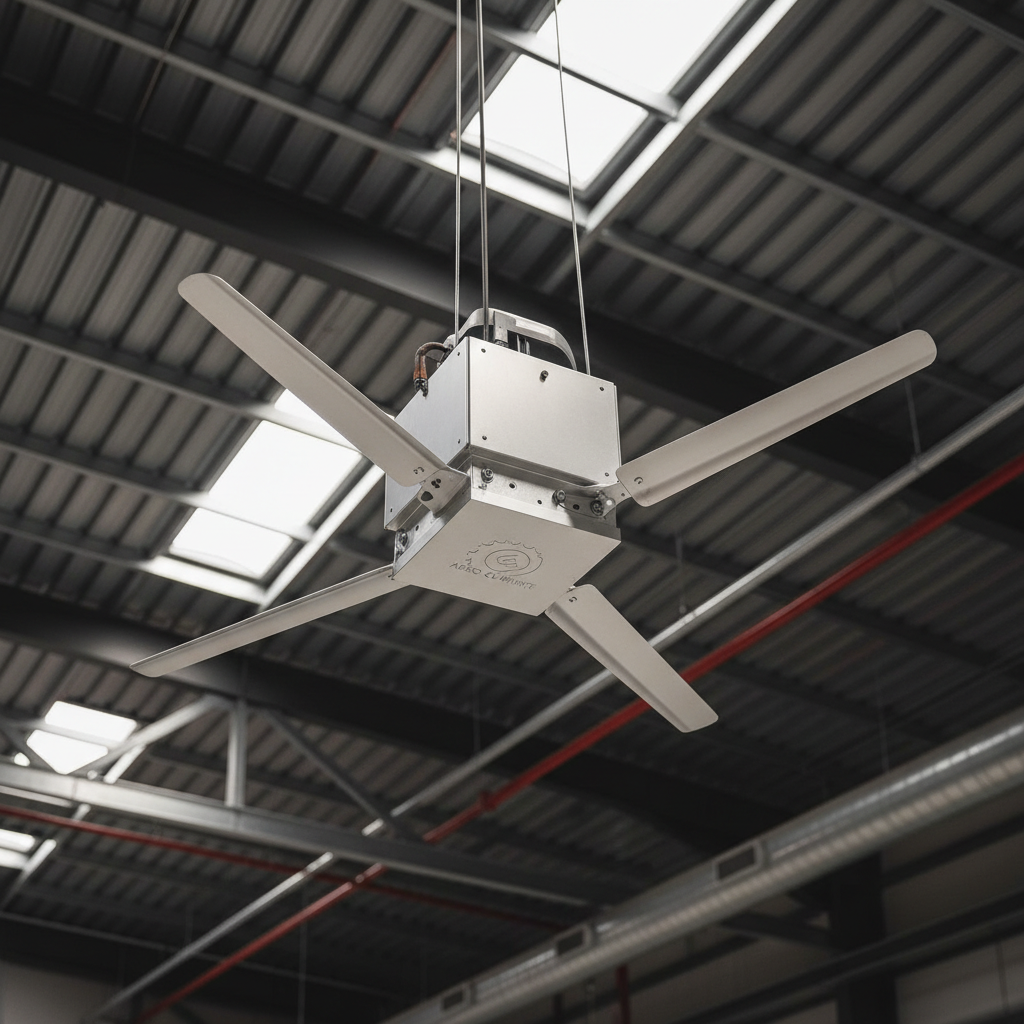
Once the wiring is complete, attach the fan blades to the motor using the screws provided. Make sure each blade is securely fastened. If your fan includes a light fixture, follow the instructions to install it, ensuring all connections are secure.
Testing the Installation
After everything is in place, it's time to test your work. Turn the power back on at the breaker and test the fan and light (if applicable) to ensure they operate correctly. If the fan wobbles, double-check the blade alignment and the mounting bracket's stability.
If everything works smoothly, you've successfully installed your ceiling fan wiring. Enjoy the comfort of a cool breeze and the satisfaction of a job well done!